How to edit your Illustrator template
Chances are if you are reading this article it is because you have purchased an Origami Collective Illustrator template and you are now looking to edit your template. Well you have come to the right place!
If you haven’t purchased a template from us and you have stumbled upon this article from somewhere else, feel free to read along as the techniques I speak about are useful for any Illustrator user to know.
Editing the colours to suit your business branding
On the side of your artboard you will see some swatches. This is where you will add in your business branding colours. Click on the first square, then double click on the foreground colour in the toolbar and this will bring up the Colour Picker window:
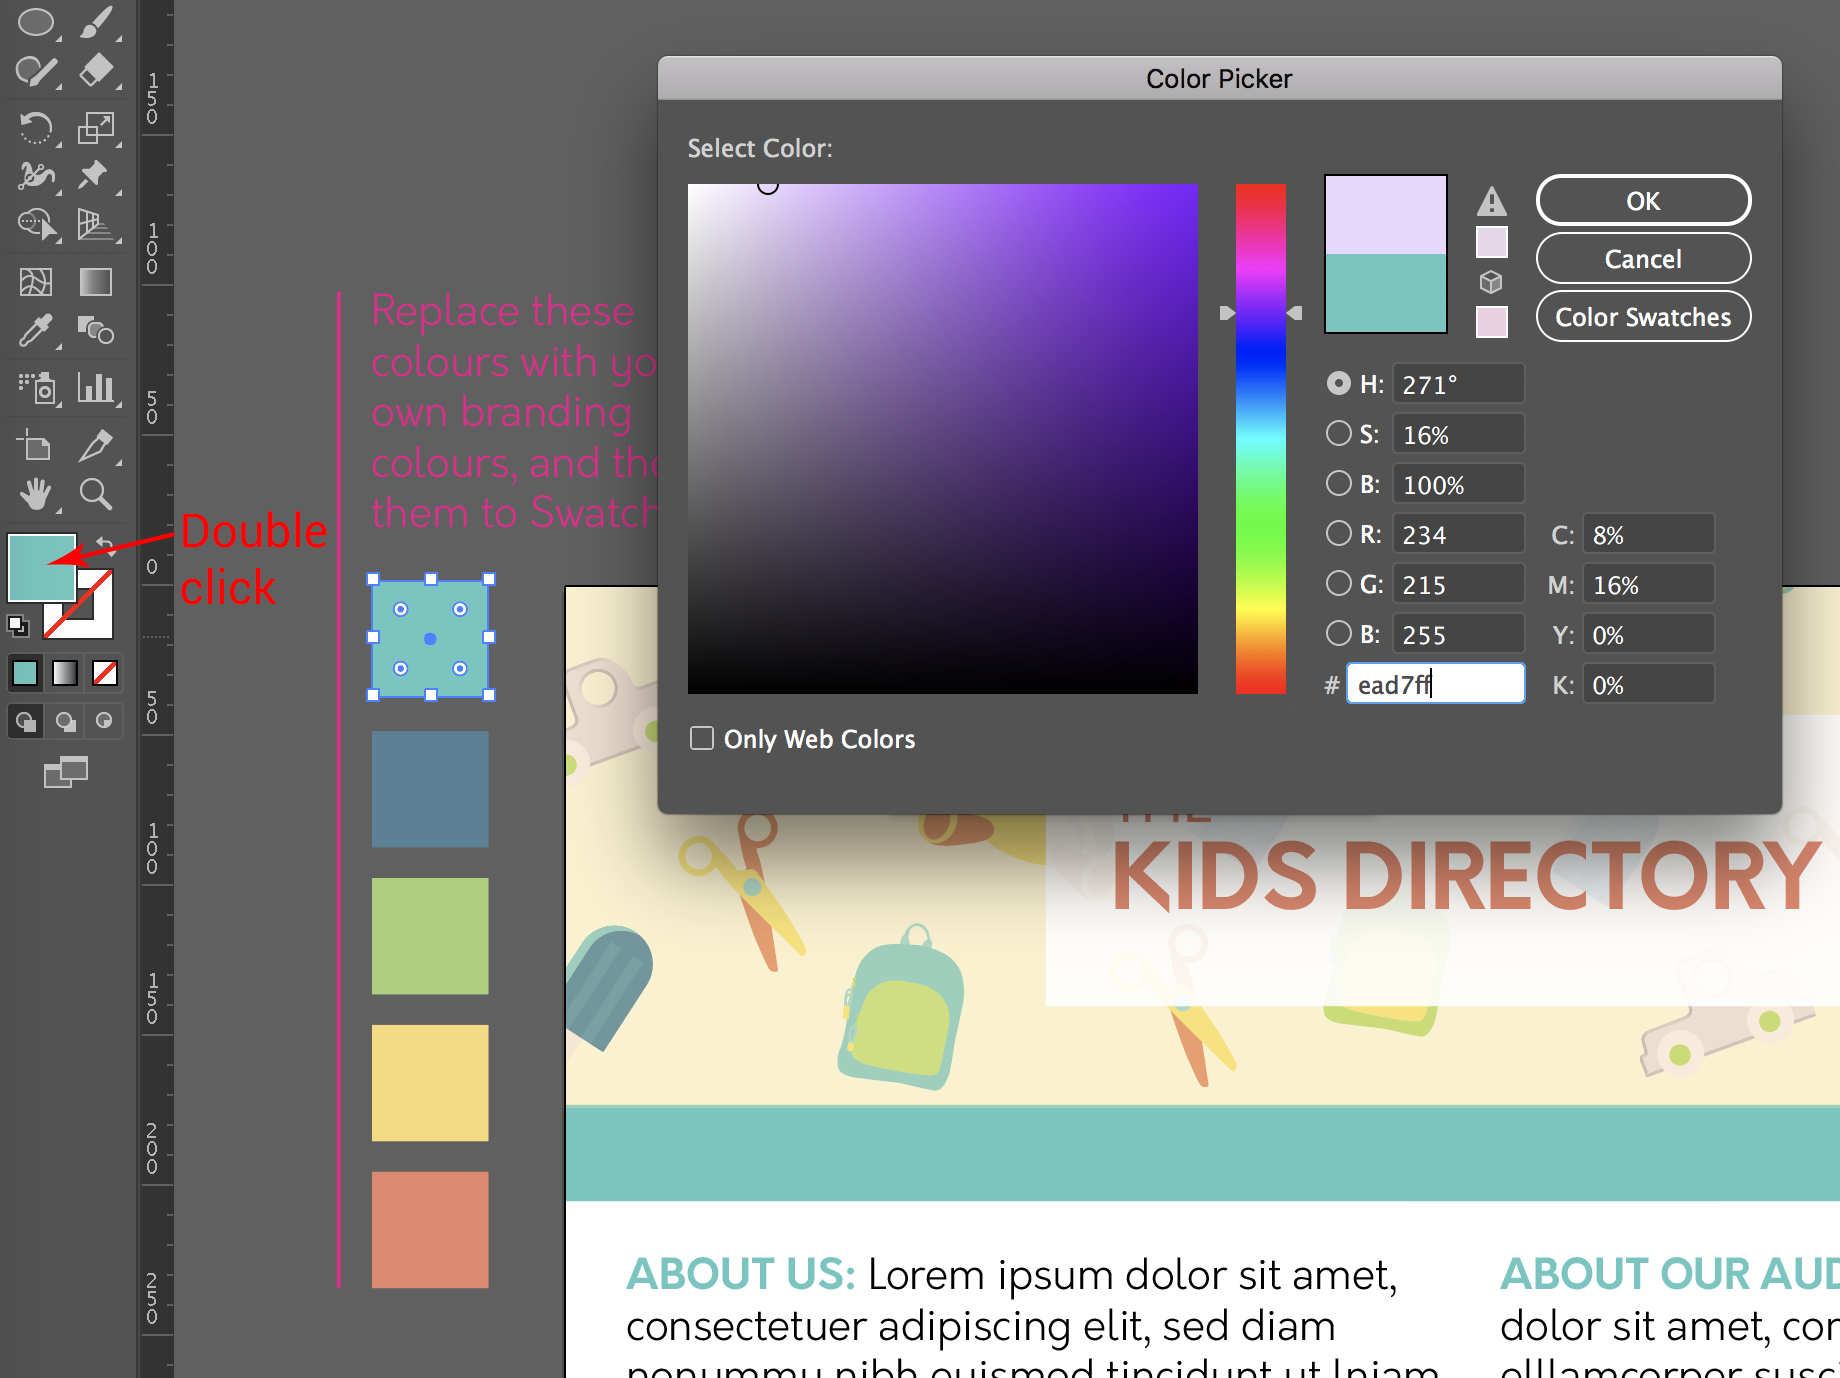
You can then either select your colour by moving the circle around, or you can input the HEX code of the colour you would like to use in the # field.
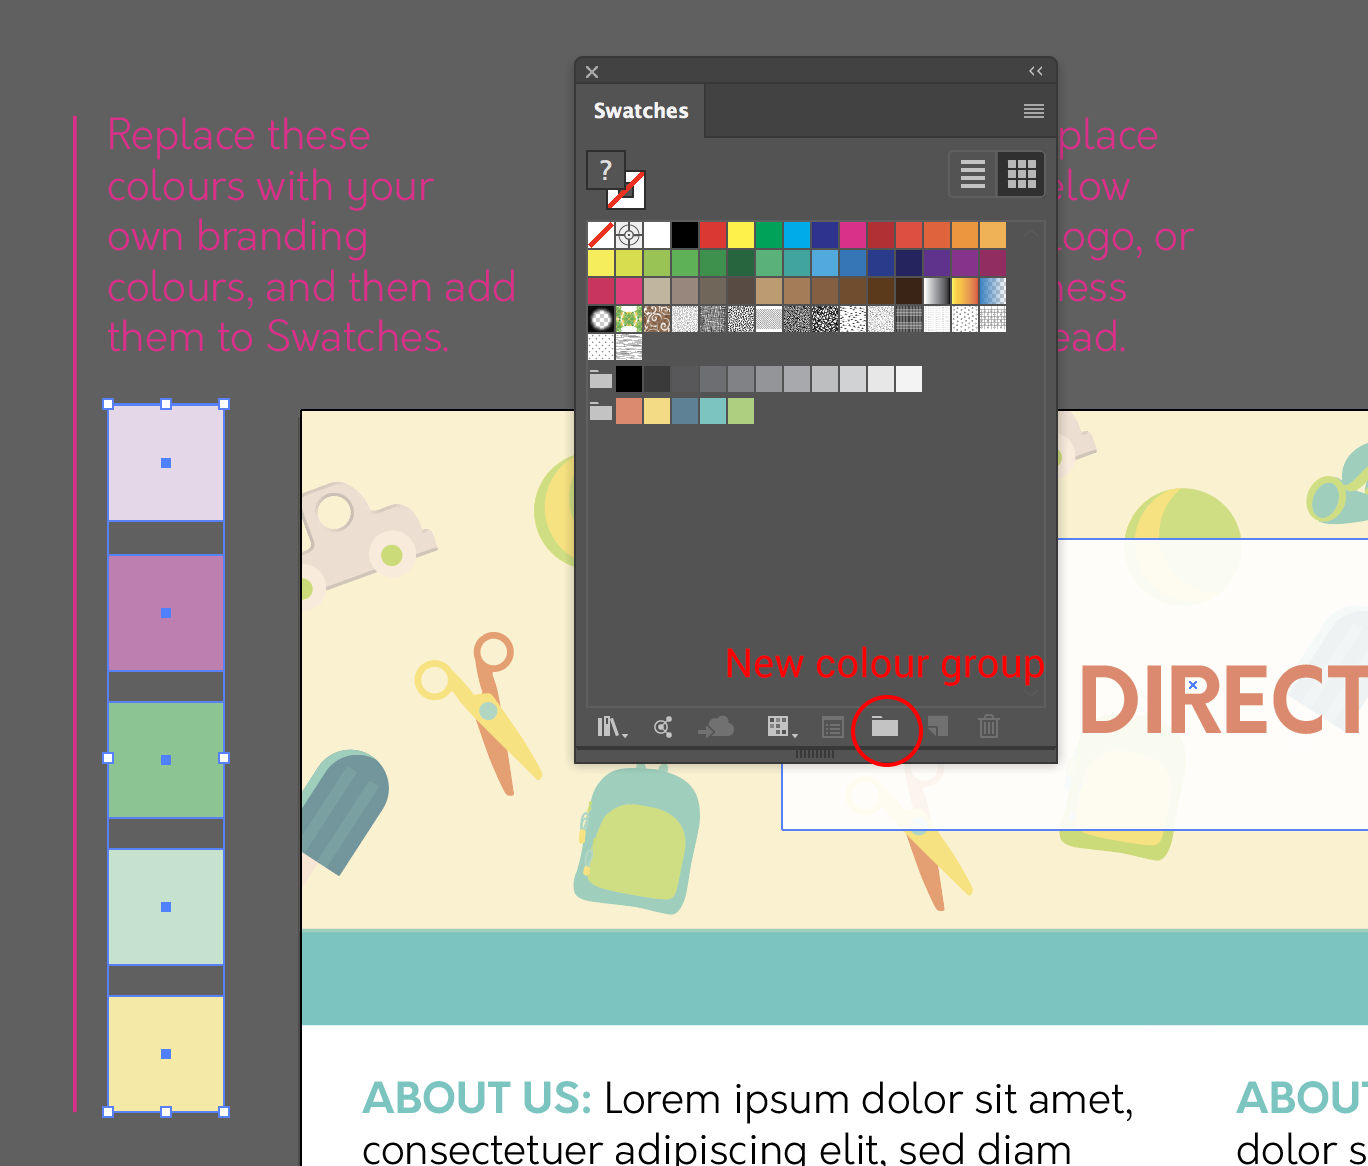
Change the rest of the squares to colours of your choosing, preferably colours from your business branding. Once you have done this, select all the squares using the direct select tool (keyboard shortcut V). In the swatches window, select the new colour group icon which will create a new swatch group out of the colours of the squares:

You should now see your new swatch group in your swatches window. Now onto changing the colours of the template. Select the whole artwork using the Selection tool (keyboard shortcut V). Go to Edit > Edit Colours > Recolour Artwork and the Recolour artwork window will pop up.
Select your colour group from the window and your artwork will change colours:
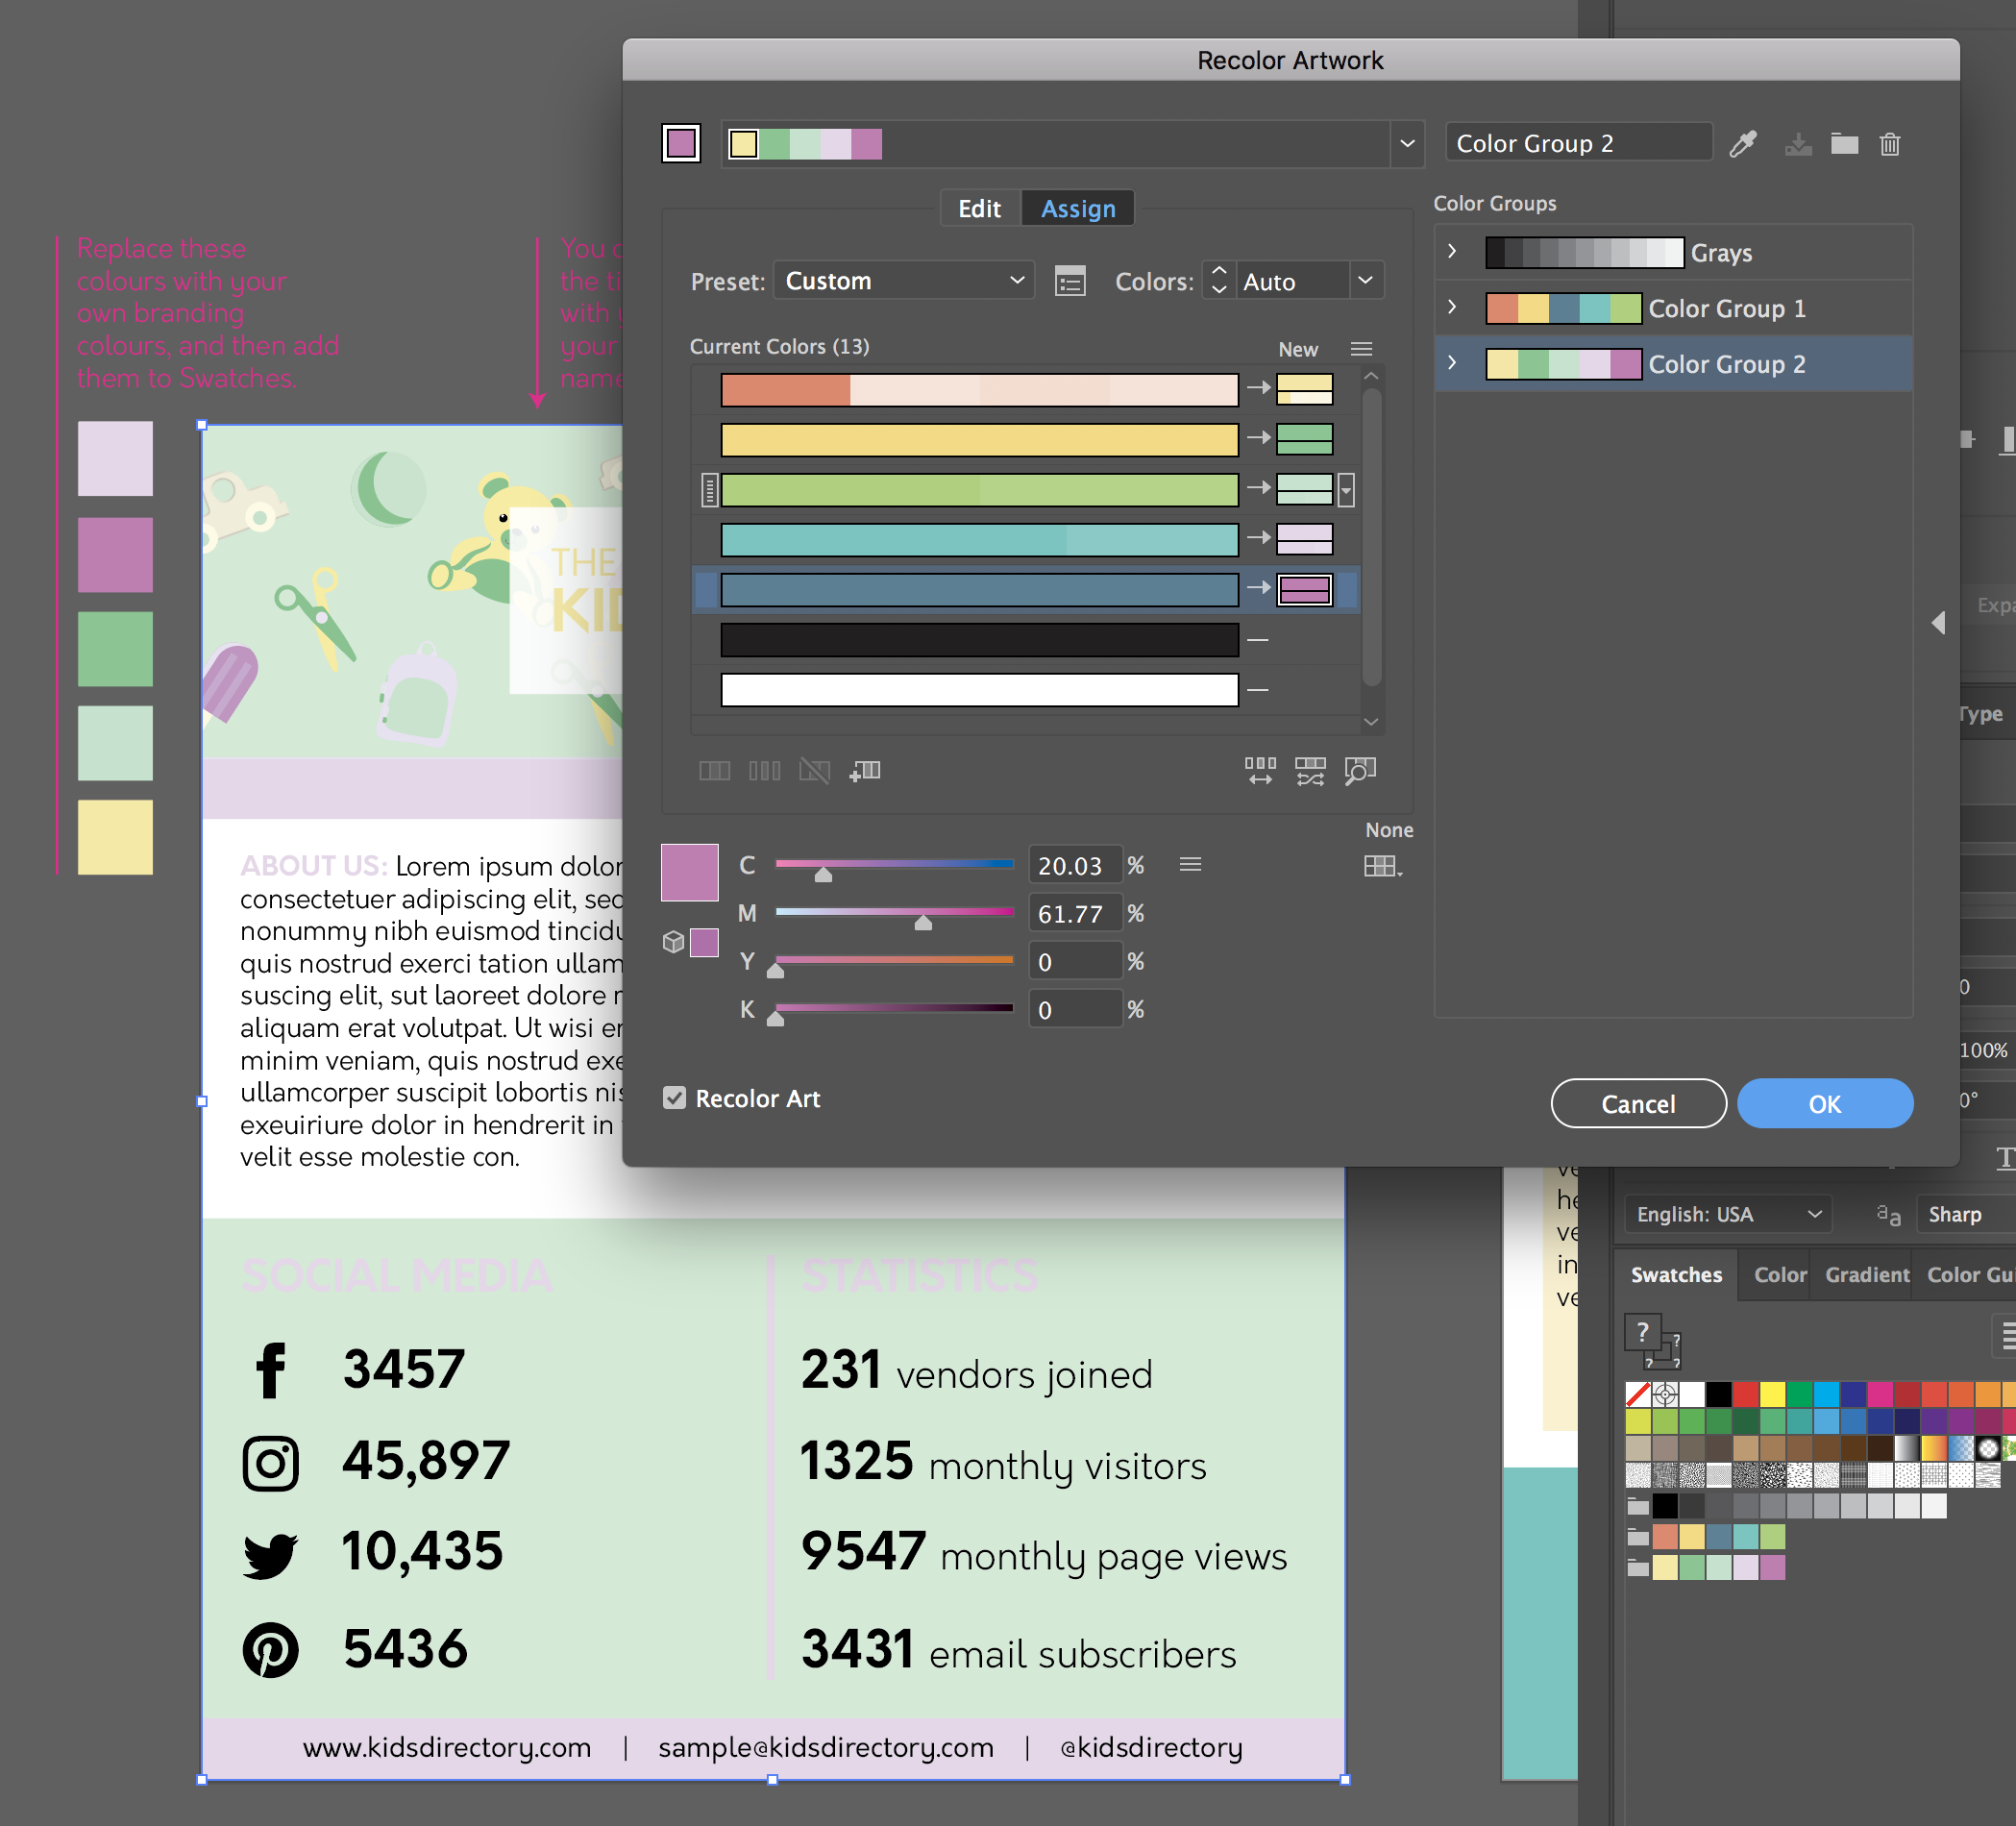
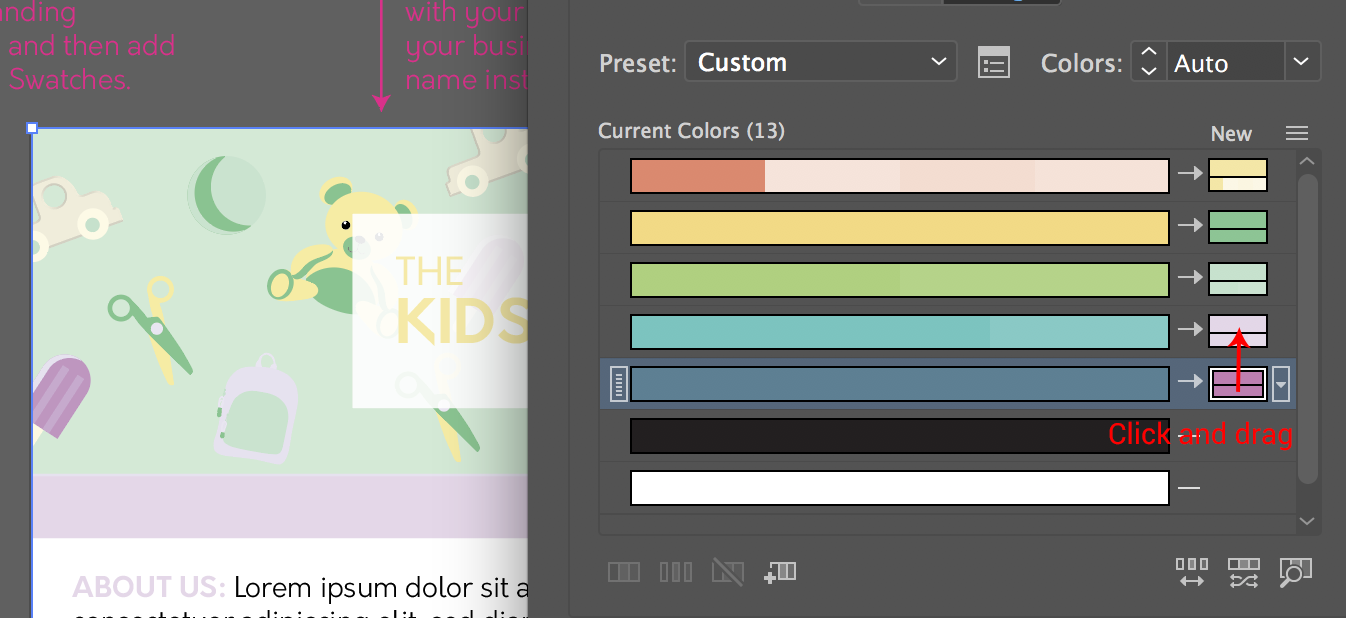
You can then click and drag the new colours in the ‘Current Colours’ section to choose which colour you would like to replace. In the below example I have clicked and dragged the dark purple into the light purple spot:
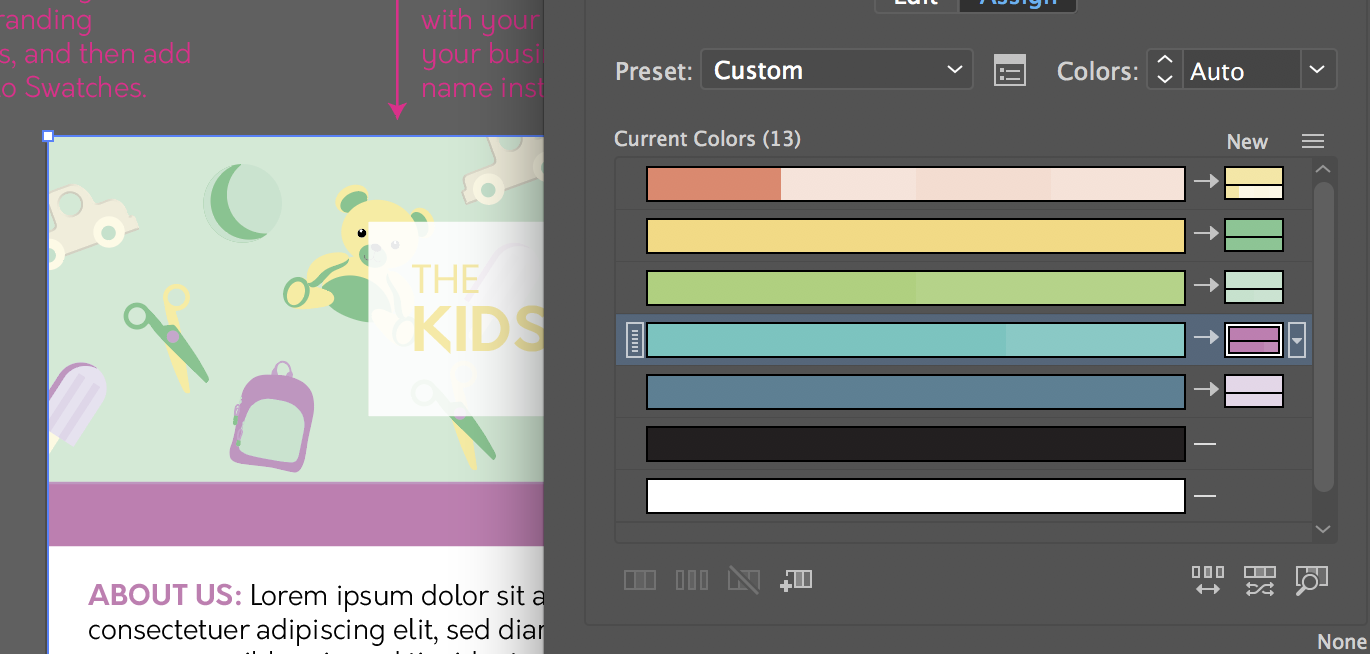
You will see that the document started with 13 colours, but they have been grouped to fit into the 5 colours from your new colour group. You could also changed the colours manually by adjusting the CMYK values of each colour. Although I would not recommend this, time is money! And I am all about doing things as efficiently as possible.
[thrive_leads id=’87585′]
Replacing or adding images to your template using a clipping mask
Depending on which template you have purchased, you may have images in your template. These are easily replaced using clipping masks.
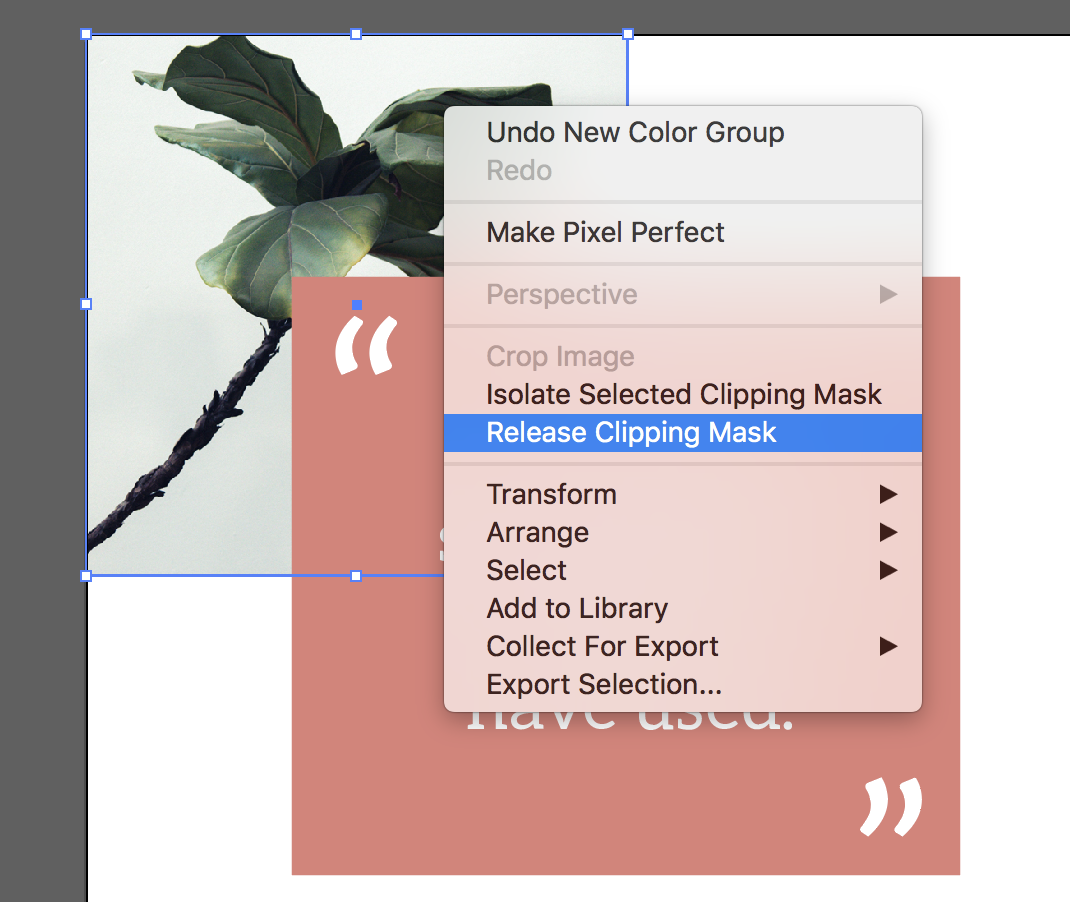
Select the image you want to replace, then right click on it and select release clipping mask:
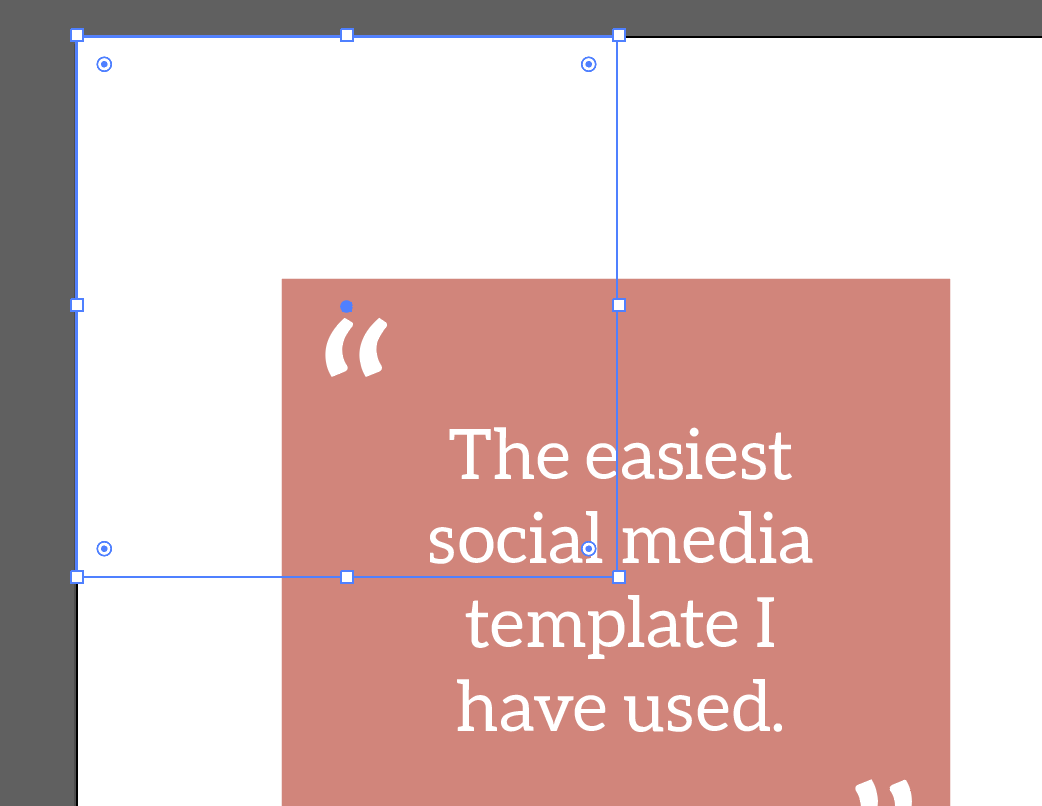
Click anywhere on your artboard to deselect everything, and then delete the current image. You will be left with a box with no fill or outline:
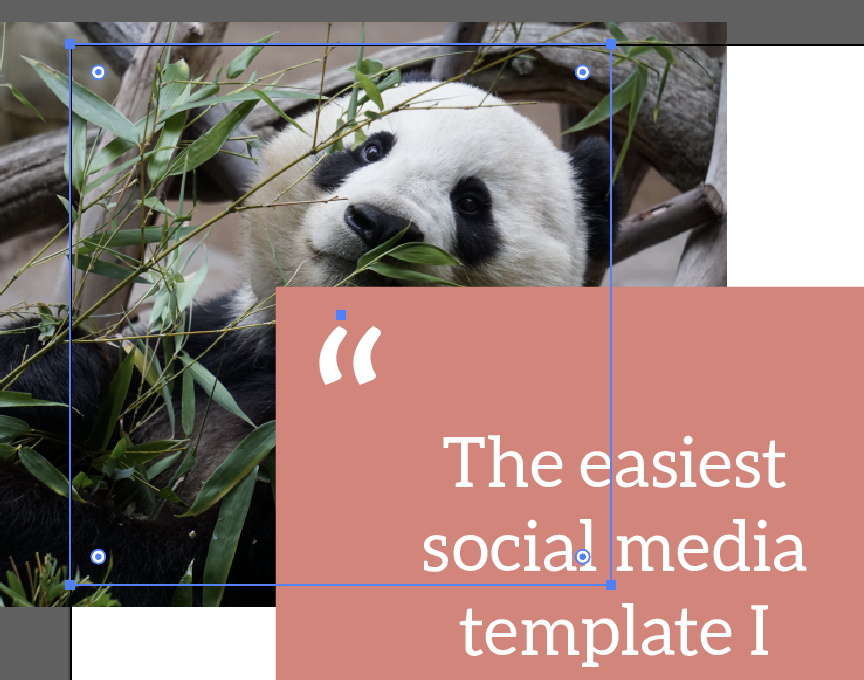
Drop in the image that you would like to add, and position it above the empty square. Then send the image ‘to the back’ by right clicking and selecting Arrange > Send to back (keyboard shortcut cmd/ctrl + shft + [ ). The reposition it if needed so that no important parts will get cut off when we apply the clipping mask:
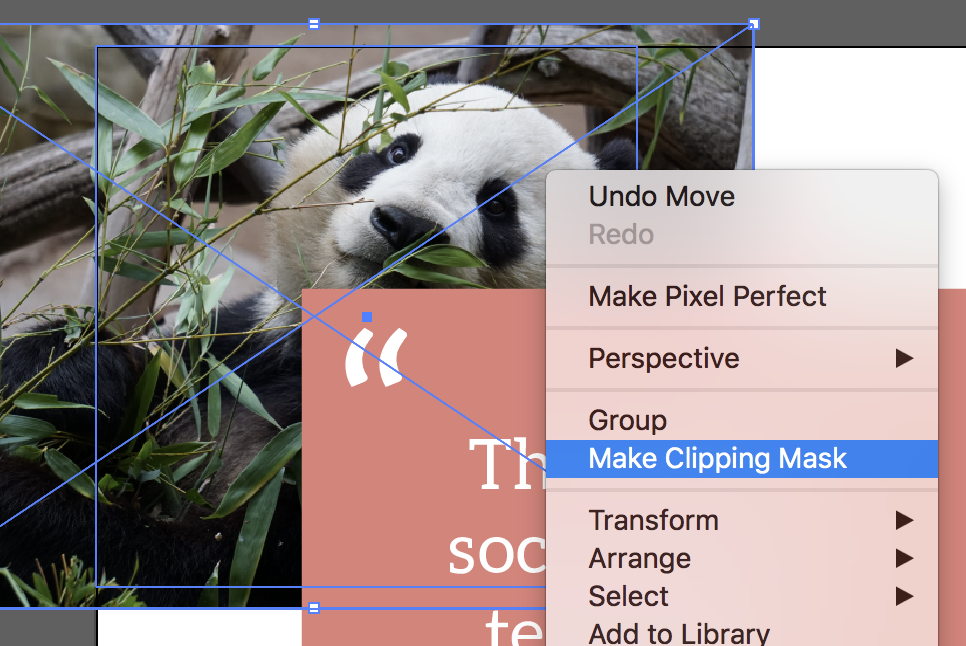
Then with the image and the square selected, right click and go to Make Clipping Mask:
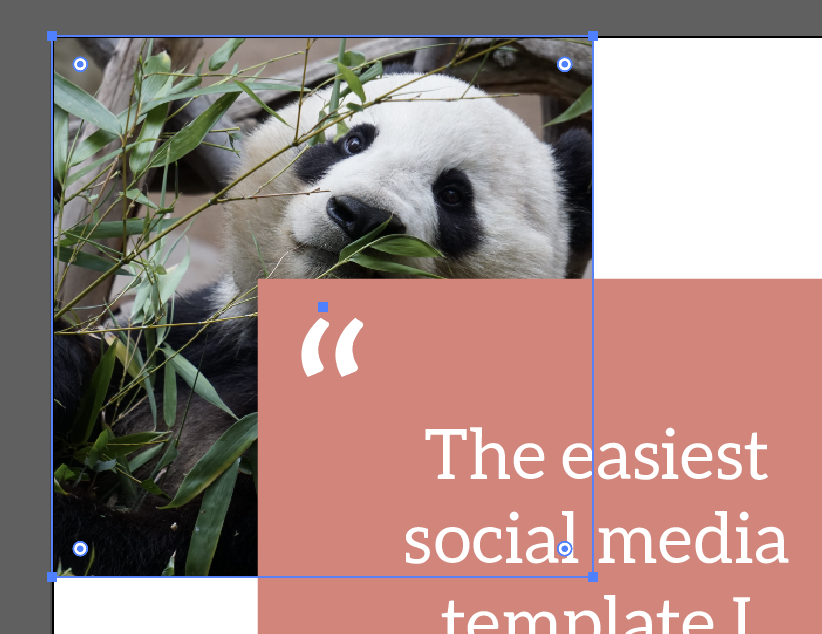
And now your image has been replaced! You could of course use Illustrators crop tool to crop/resize your image, but I find this way easier as it means you can replicate the template exactly without too much effort.