Chances are if you are reading this article it is because you have purchased an Origami Collective Canva template and you are now looking to edit your template. Well you have come to the right place! For those of you that are more visual learners, I have created a video containing all the information in this article.
If you haven’t purchased a template from us and you have stumbled upon this article from somewhere else, feel free to read along as the techniques I speak about are useful for any Canva user to know.
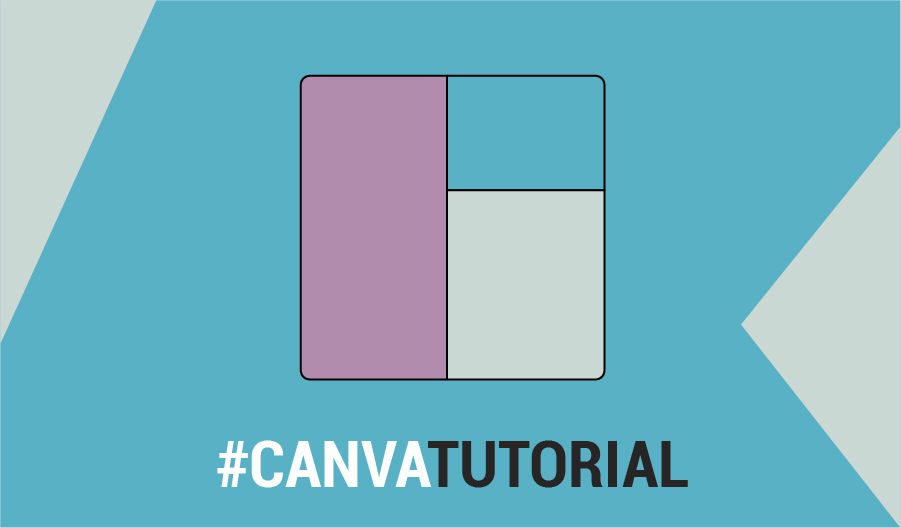
Setting up a digital asset in Canva using an Origami Collective template
If you haven’t already, you can purchase one of our templates here. We have created templates that any small business owner would need to DIY their business creative.
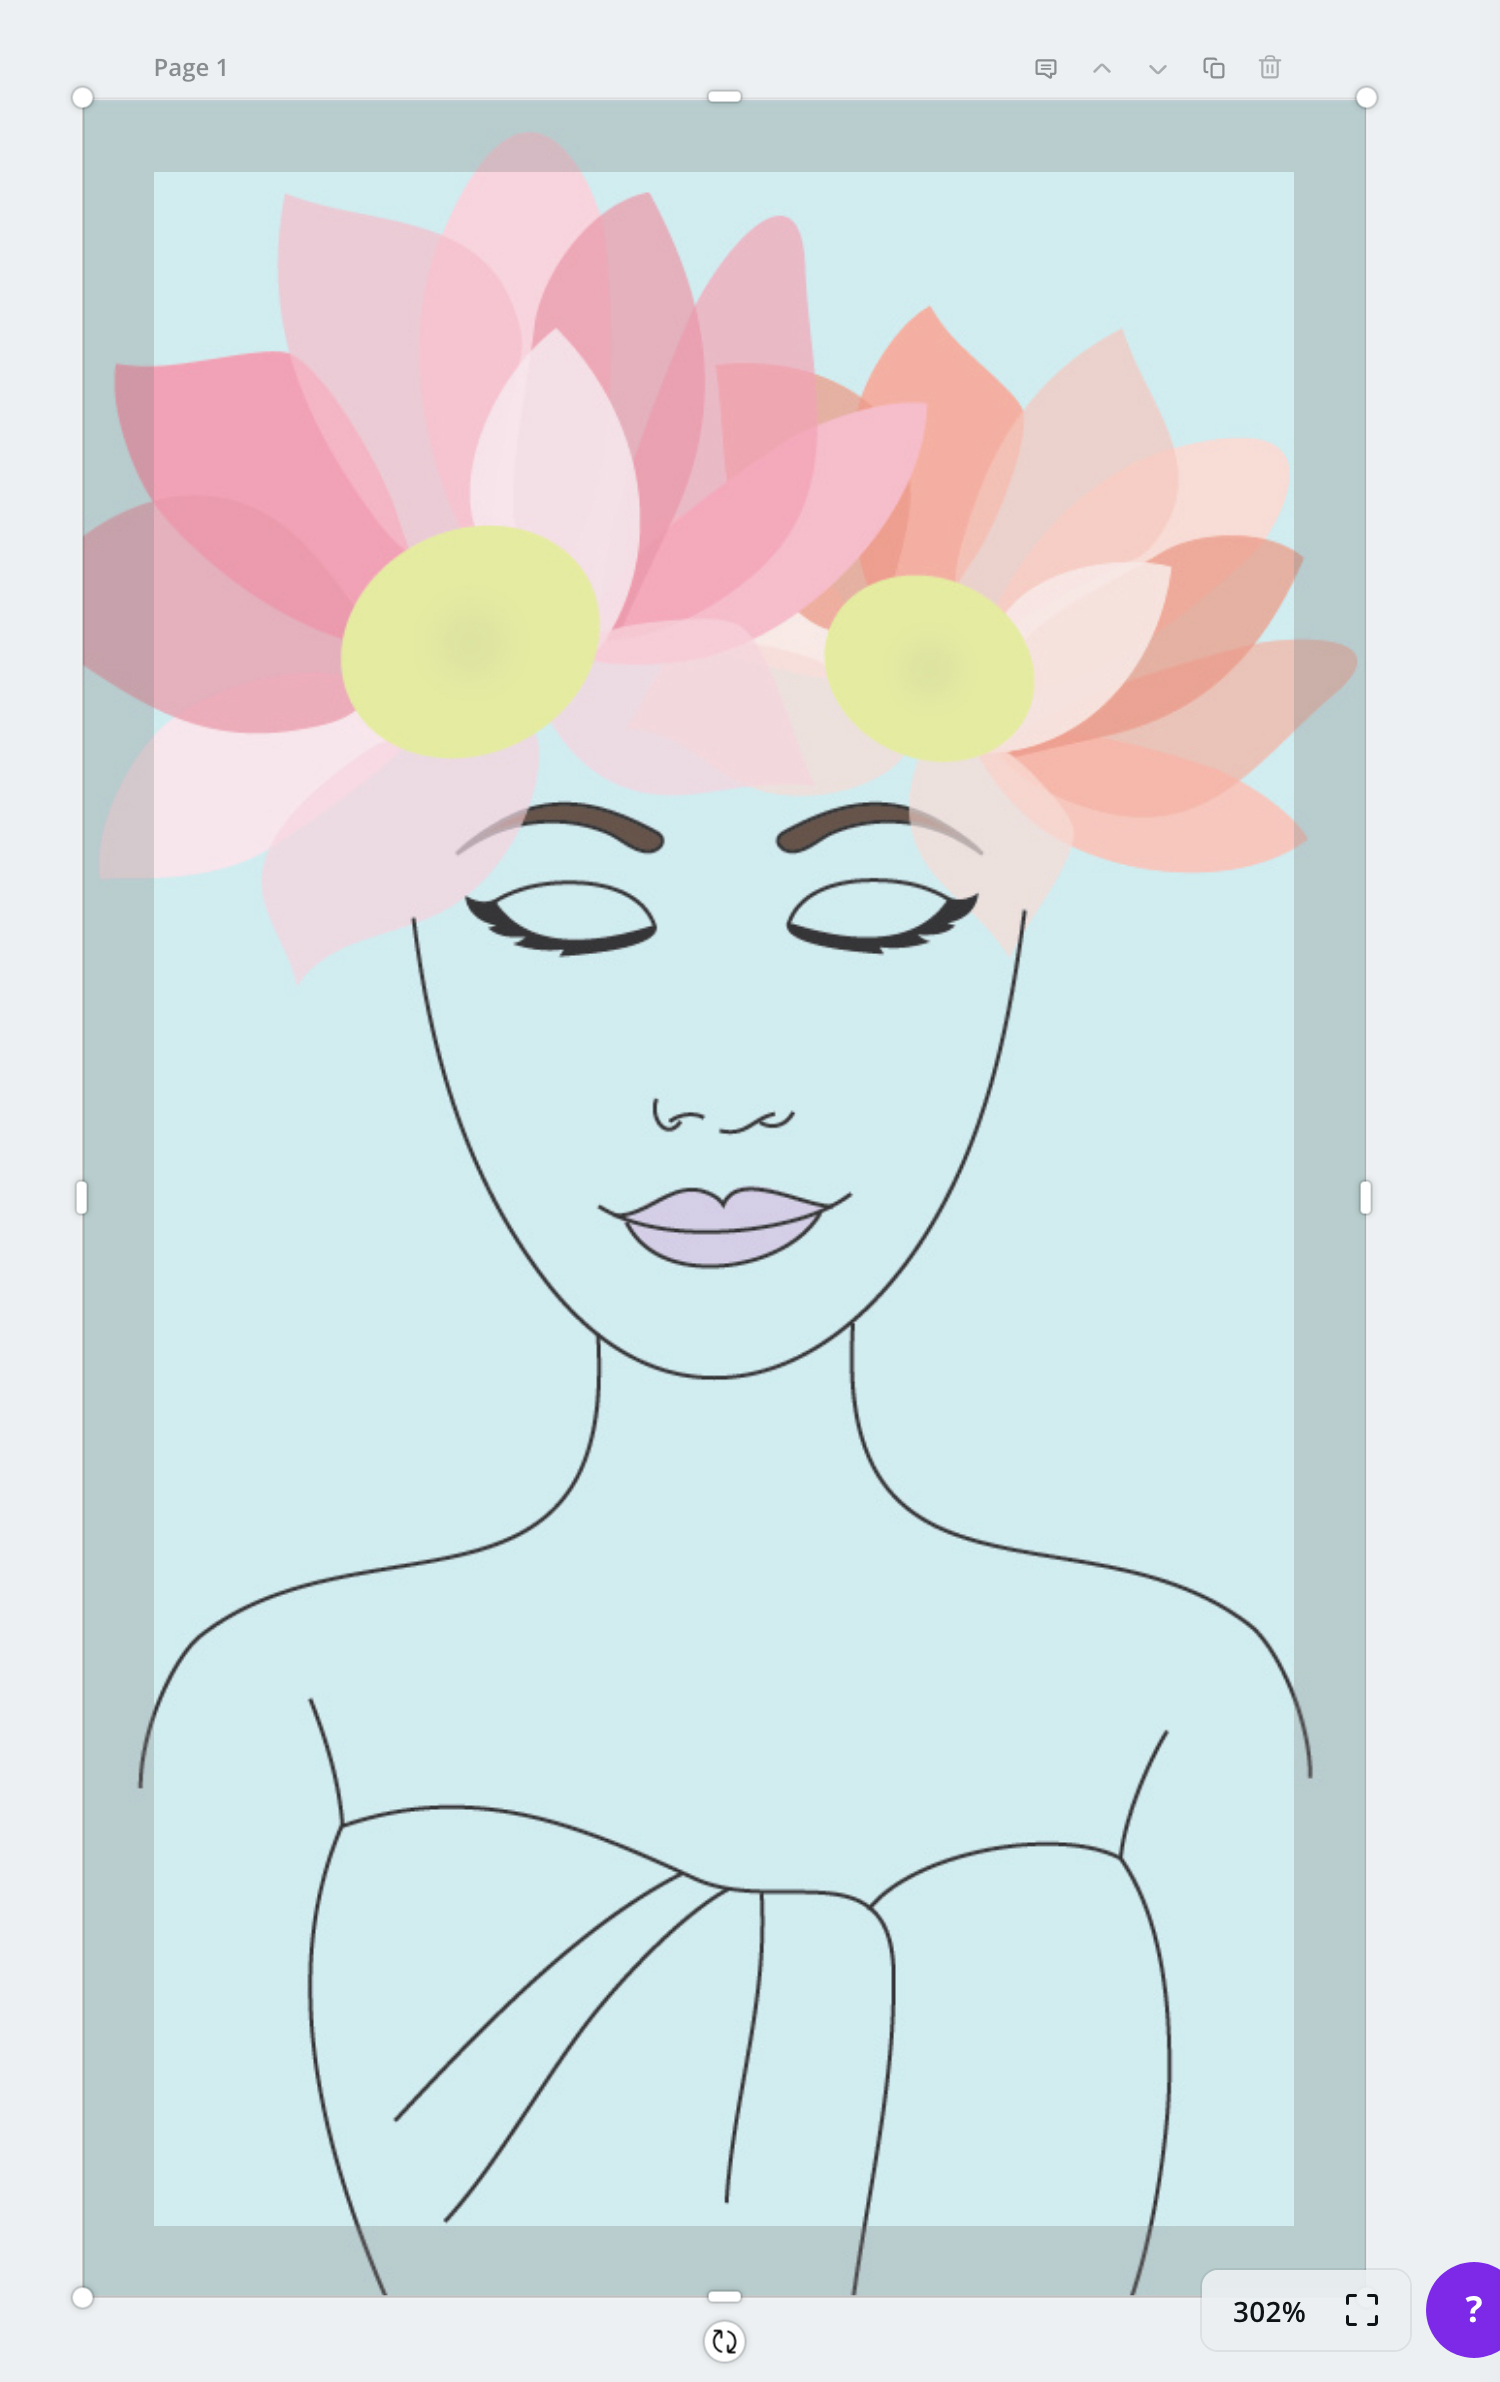
For this tutorial I will be using one of our social media templates as an example. The template comes with 6 different post types, as well as as no text option for each post. The no text options allow you to change colours and images by layering your own elements on top of the template. The text version is for those of you who are super time poor, and allows you to just add some text and post.
[thrive_leads id=’87585′]
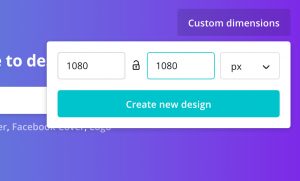
To edit a no text version (I am using a social media template as an example, but the tutorial applies for any of our Canva templates) with your own colours and images, open up Canva and select ‘Custom dimensions’ from the top right hand corner of the screen. As we are doing a social media post, we will make the size 1080 x 1080px and then hit ‘Create new design’:
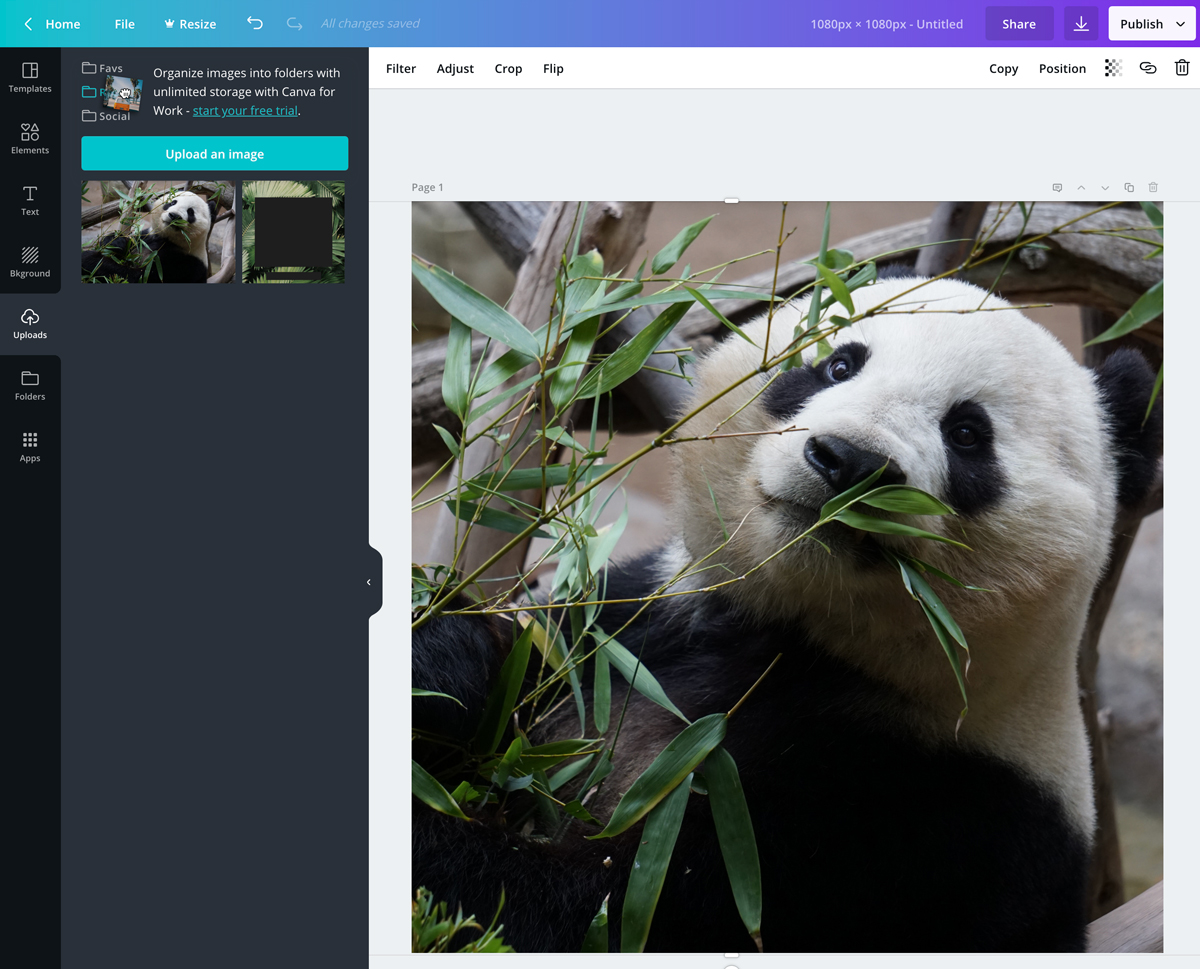
Click on ‘Uploads’ from the side menu that appears, and drag your graphic into the the window:
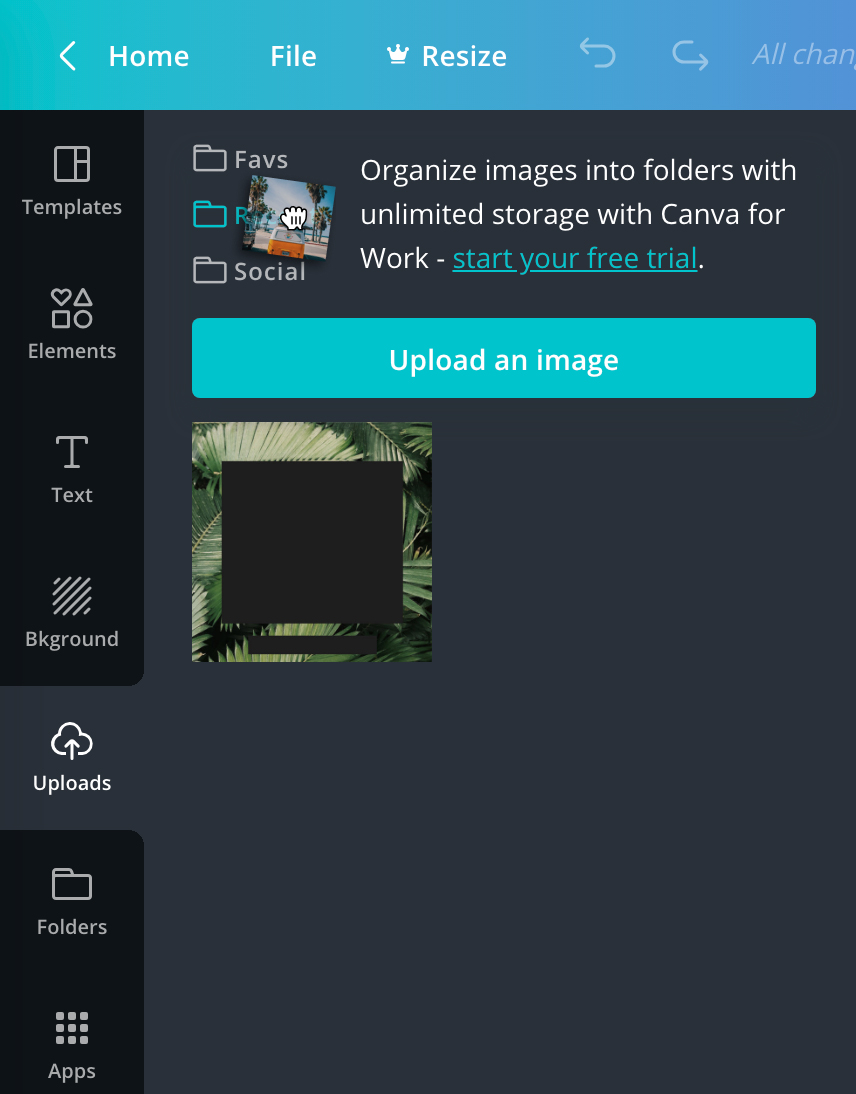
You will also want to drop in the image you would like to replace the template image with so that it’s ready to go for later.
Click on your template image and drag into onto the blank page, then you will need to reposition it and resize it using the arrows that appear when you hover your mouse near the corner or middle of the image.
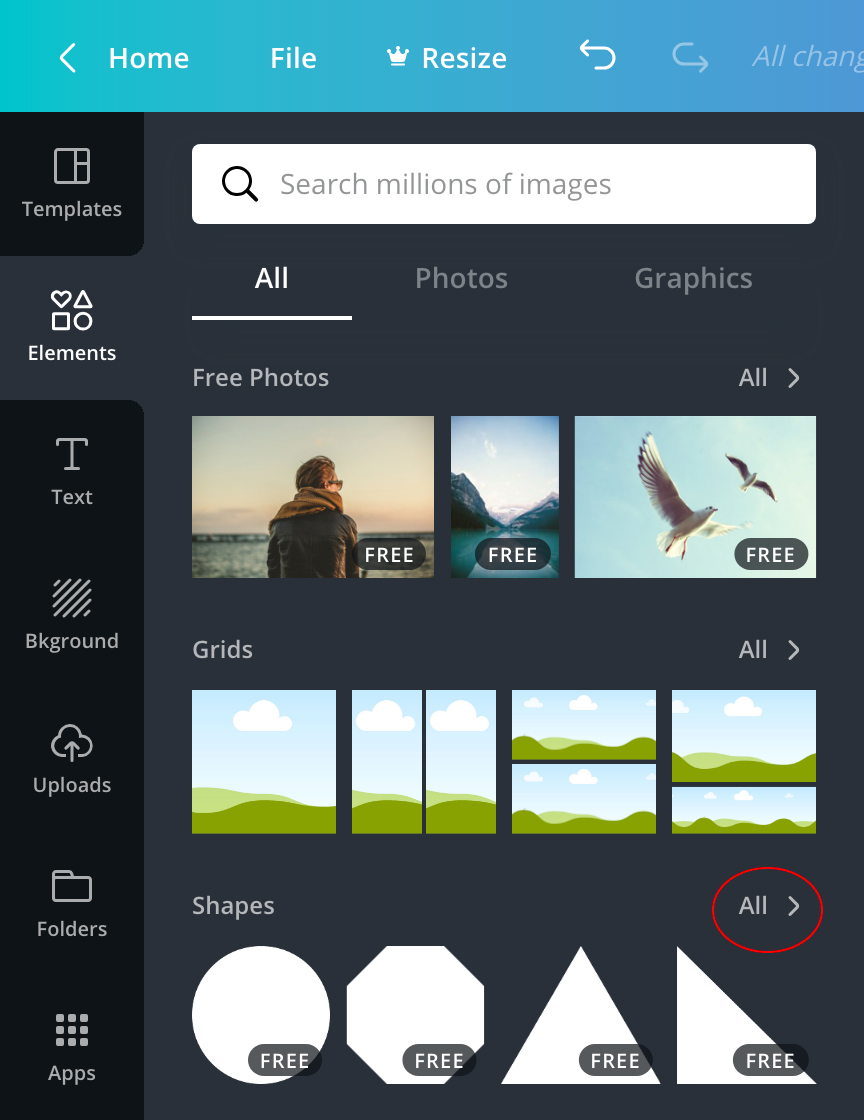
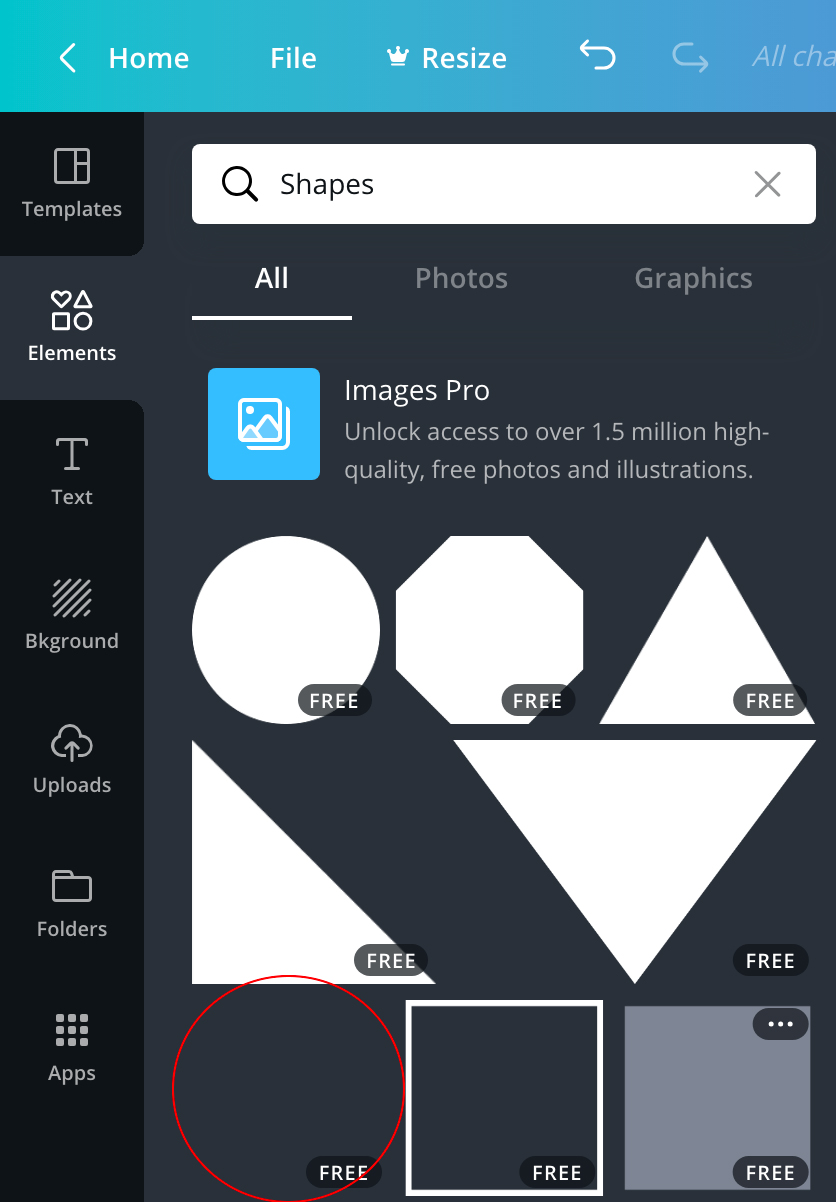
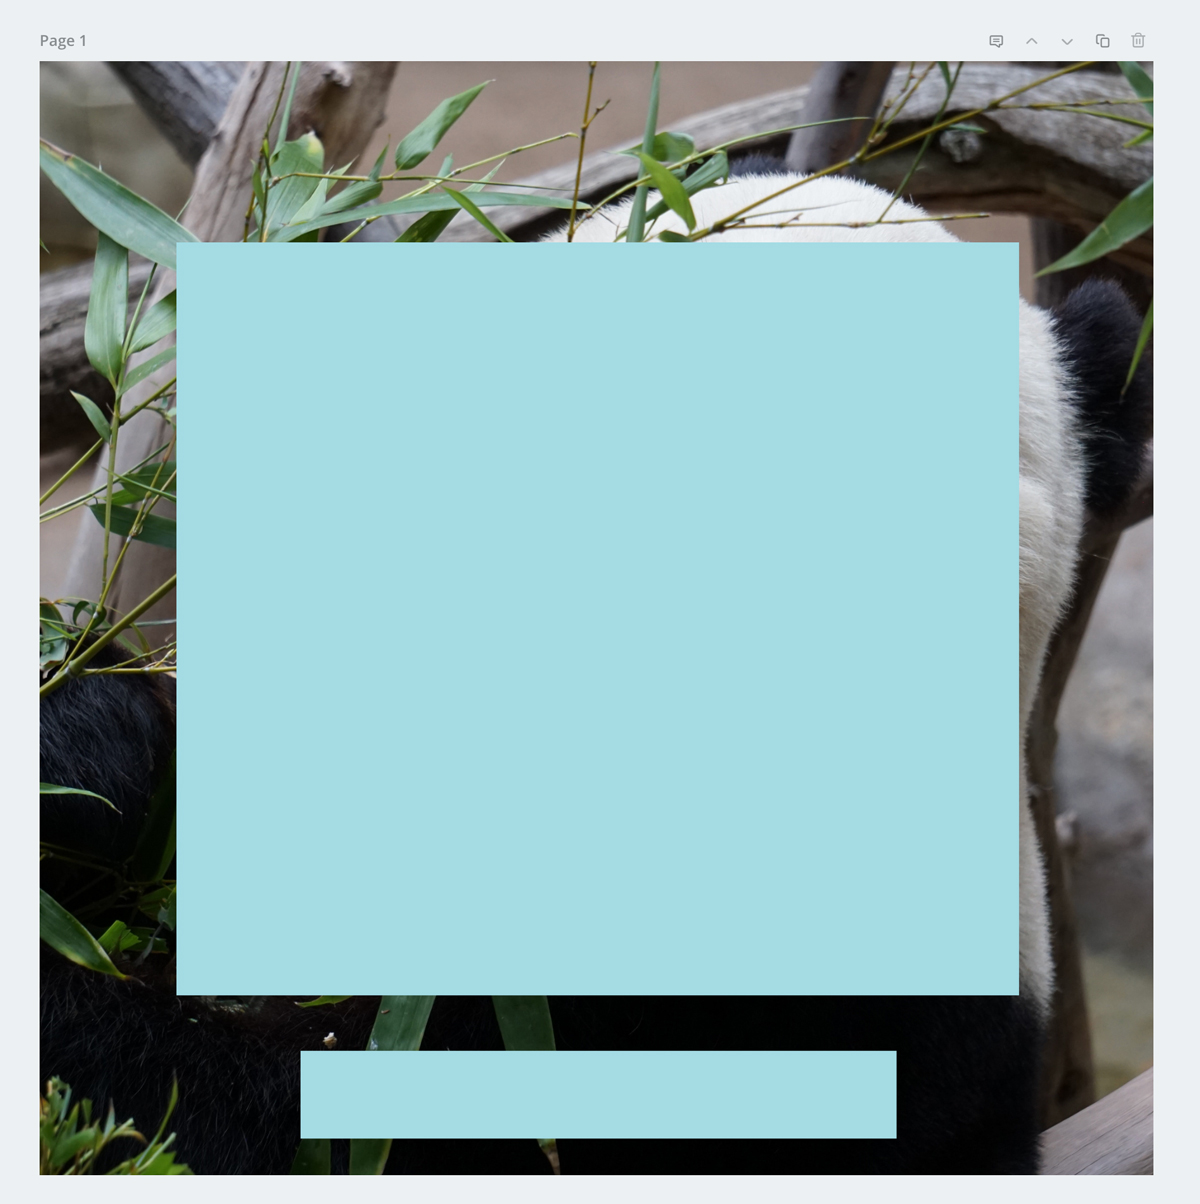
Now we are going to recreate the black shapes in another colour. Select ‘Elements’ from the side menu, and next to shapes select ‘All >’. Then select the square shape and drag it onto your canvas:
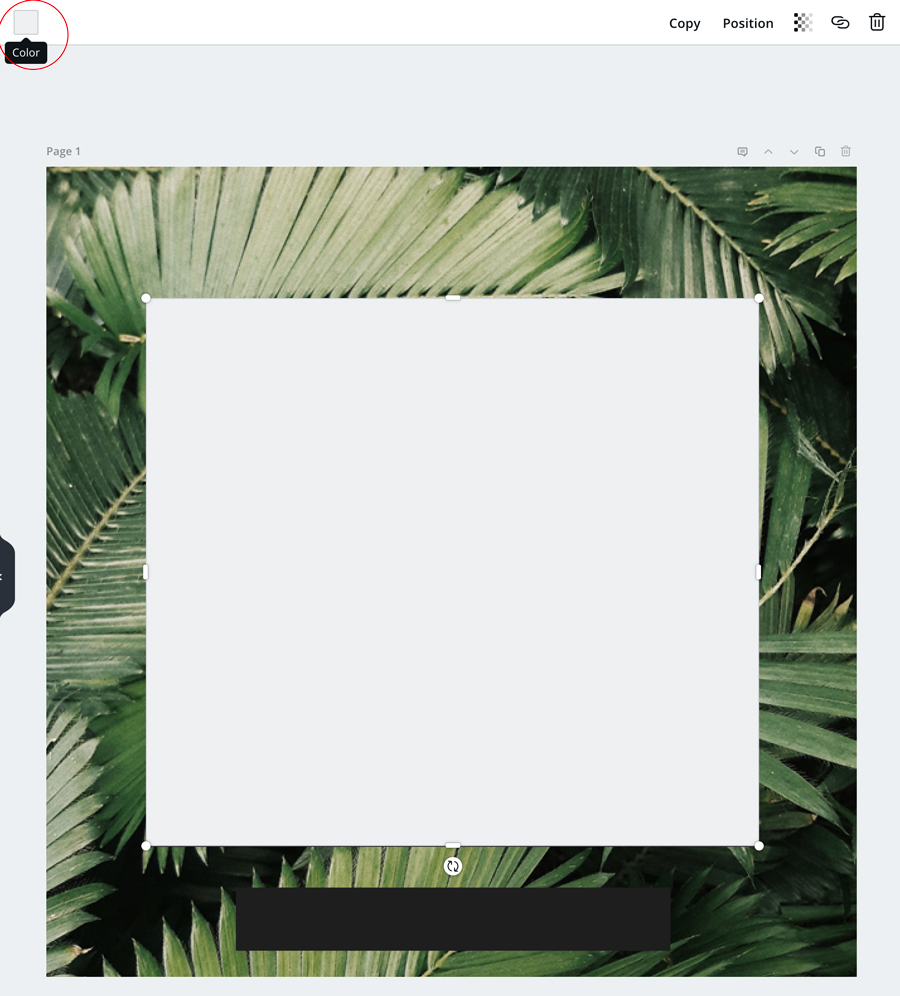
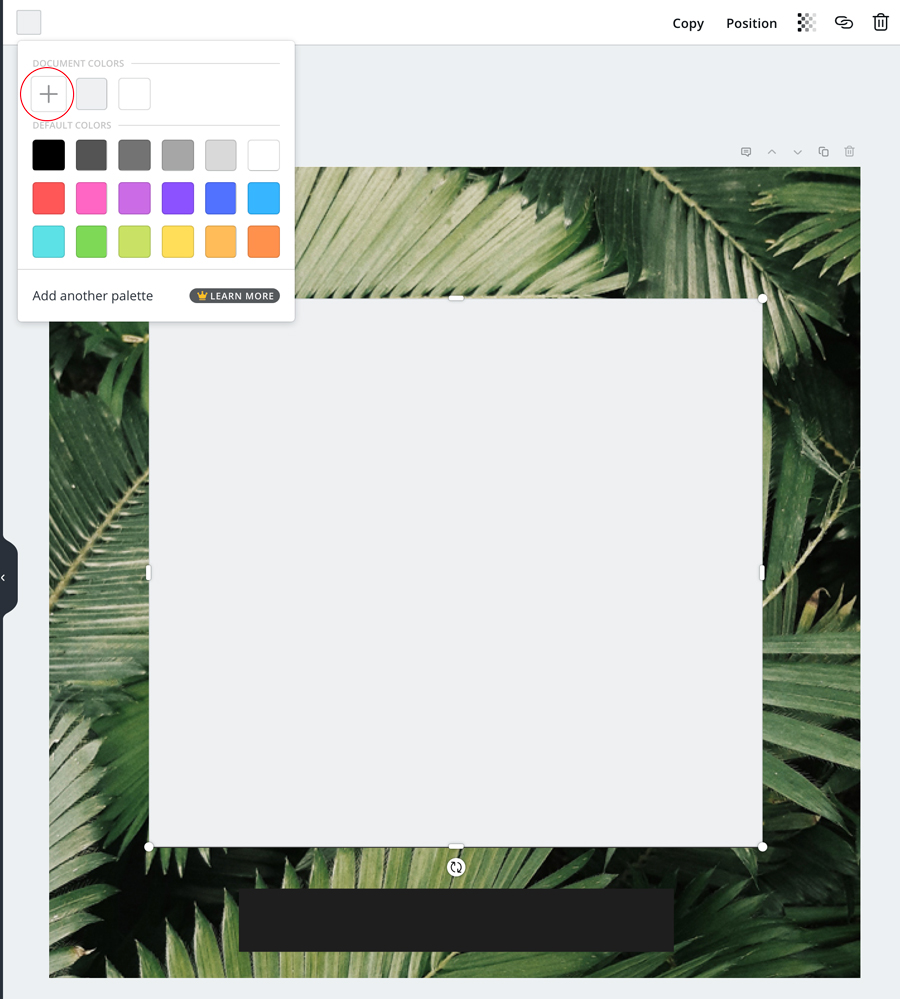
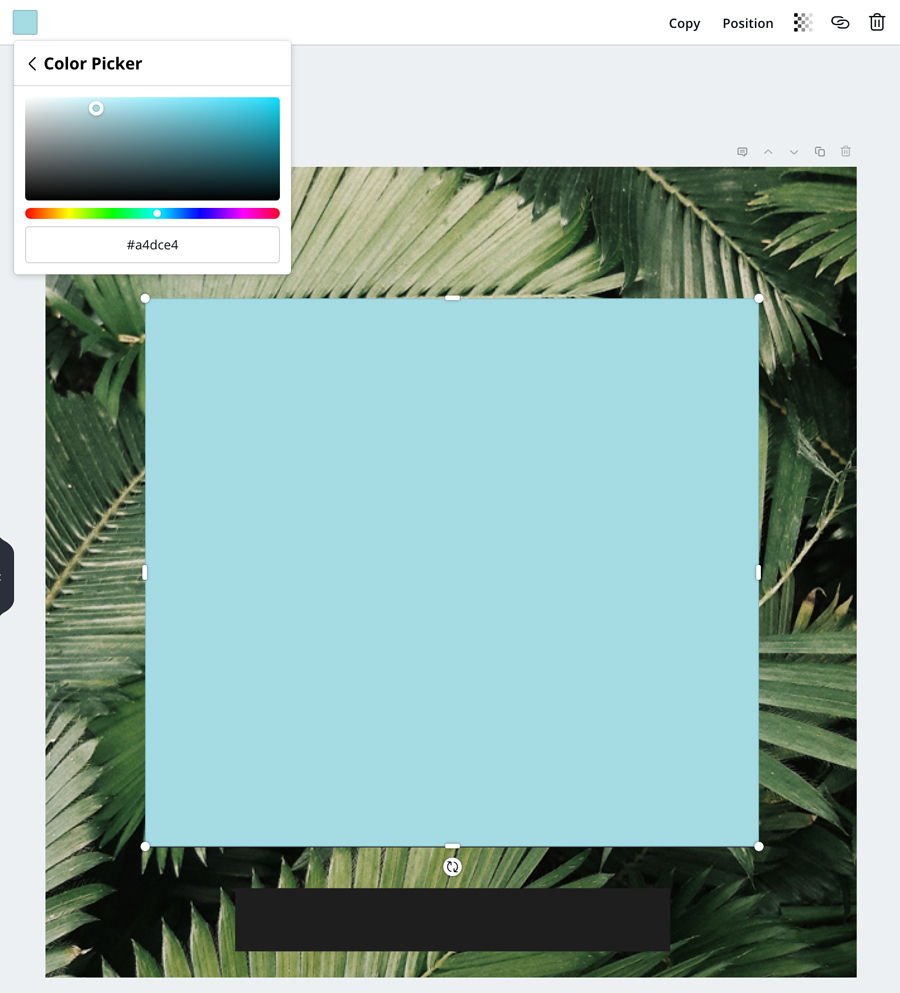
Reposition and resize the square so that it fits over the square we are changing the colour of. Then click on the small square at the top left of the editing menu to change the colour of the square:
You can then follow the above steps to recolour the smaller rectangle.
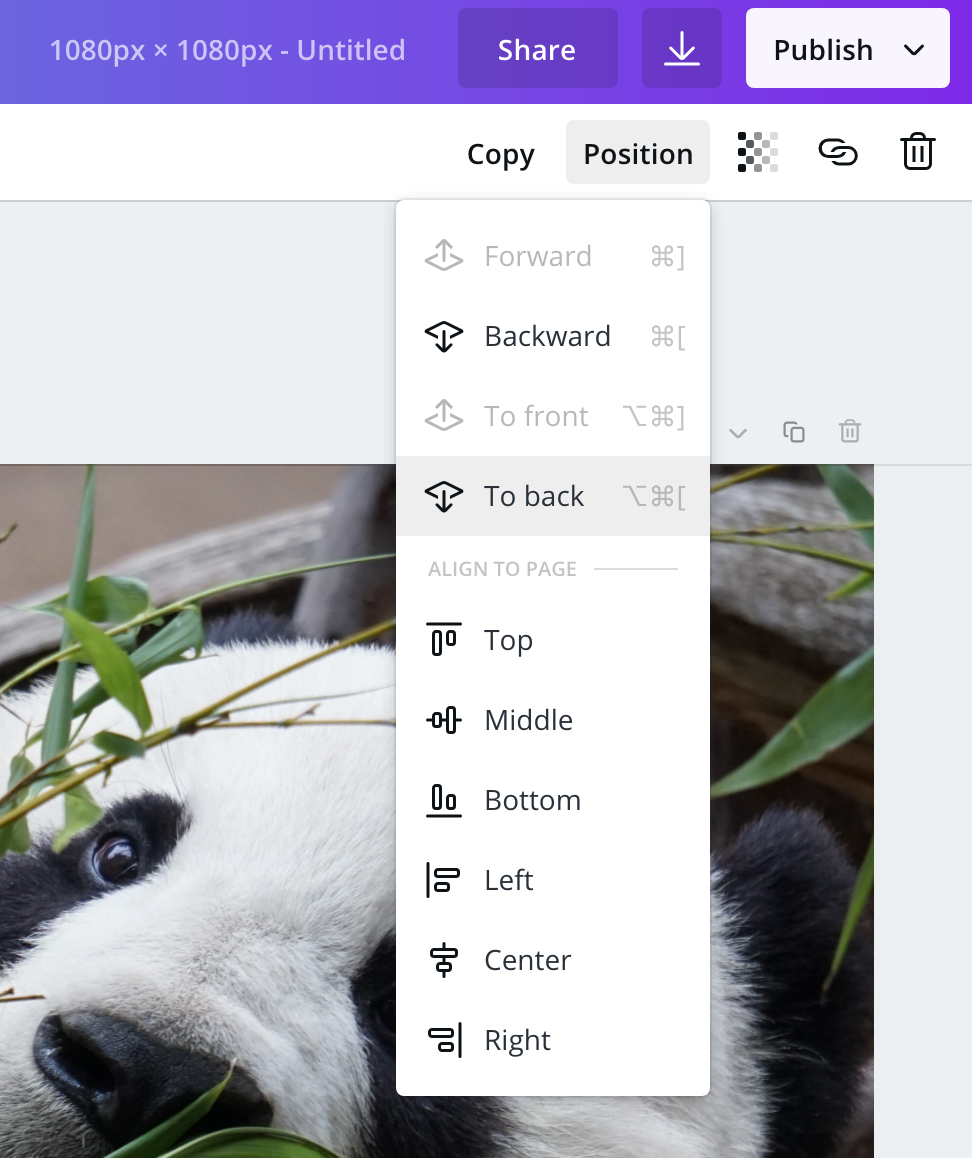
Go back to the Uploads menu item and drag your new background image onto the canvas. Reposition the image so that it covers the whole canvas:
With the image still selected, click on Position from the editing menu and send the image to back. This will put the new image behind our template, which you can now delete:
You can now start adding text to your post using the SAMPLE (included in your package) file as reference. Go to Text in the side menu and click on Add a heading to add some text:
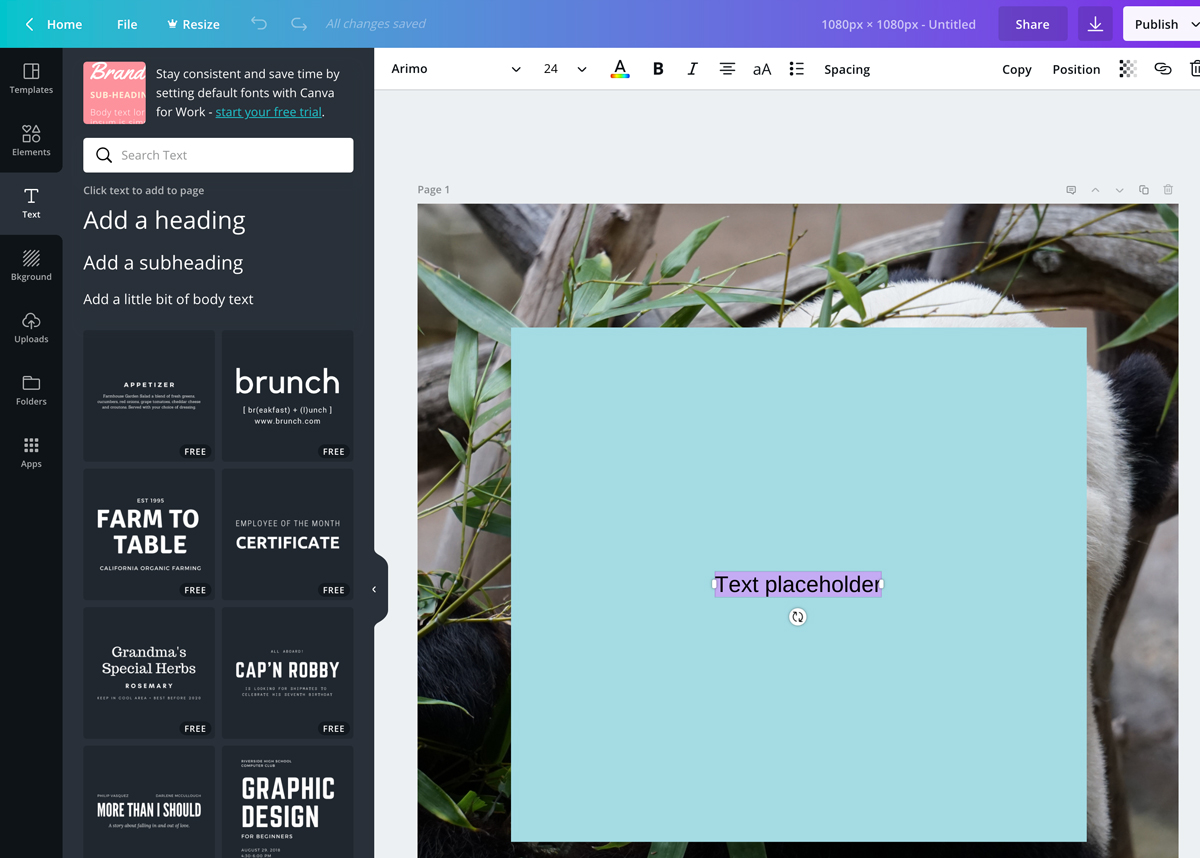
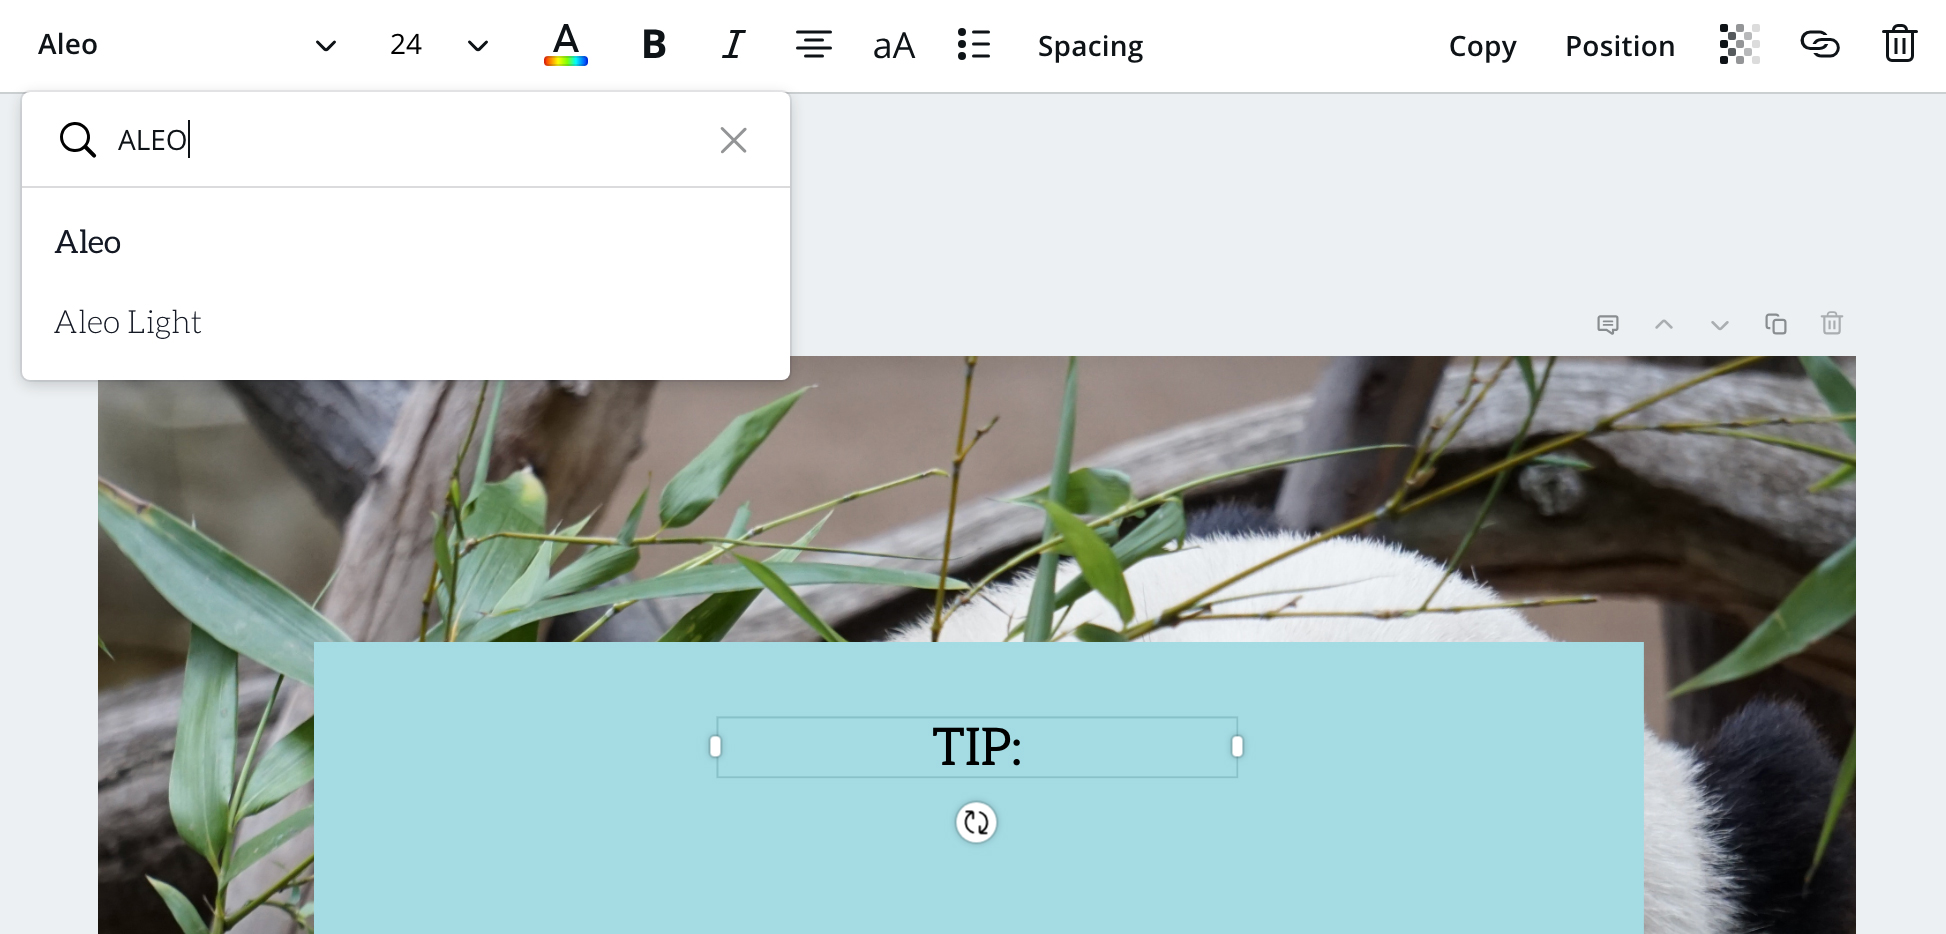
Move the text to the top of the blue square, and then using the menu editing bar select the font you want to use, for this template we are using Aleo. Adjust the size of the text so that it resembles the SAMPLE file, I have also made it bold:
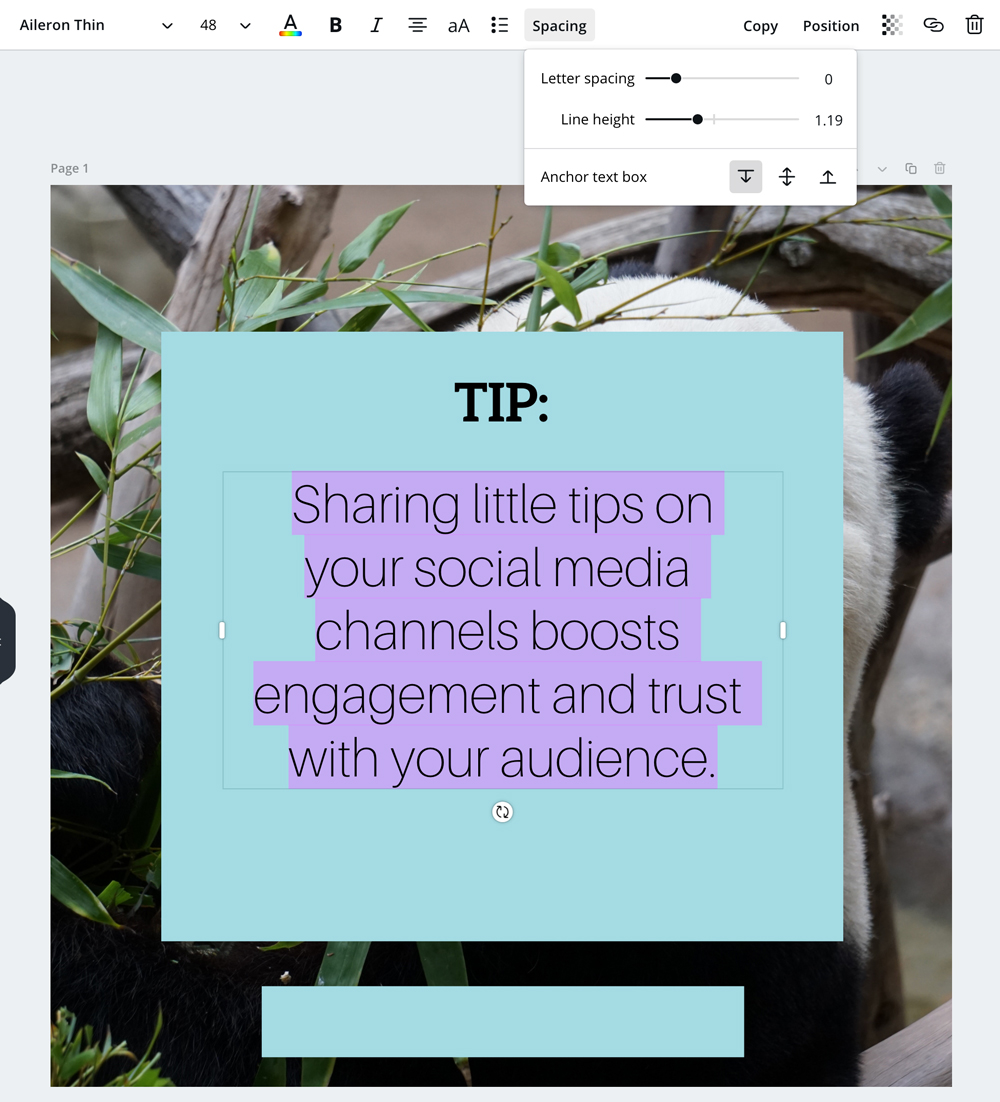
Go back to the text menu and select ‘Add a little bit of body text’ and adjust the placing, font and size. You can also adjust the line spacing:
Add the final bit of text using the same steps as above and you’re done:

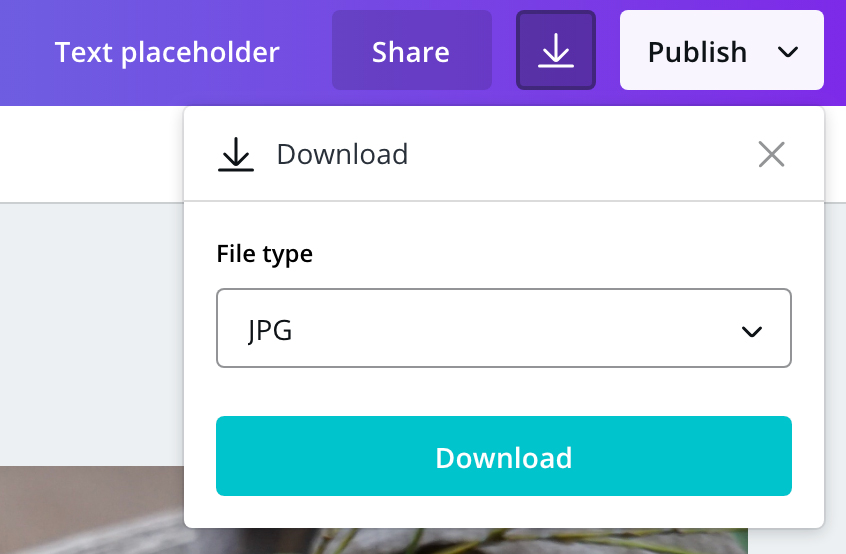
Select the download icon from the top menu, select JPG for your file type and then download your customised social media template:
Setting up a business card in Canva using an Origami Collective template
If you haven’t already, you can purchase one of our business card templates here.
Setting up your business card template in Canva is essentially the same as the above steps, except you just need to add bleed to your document.
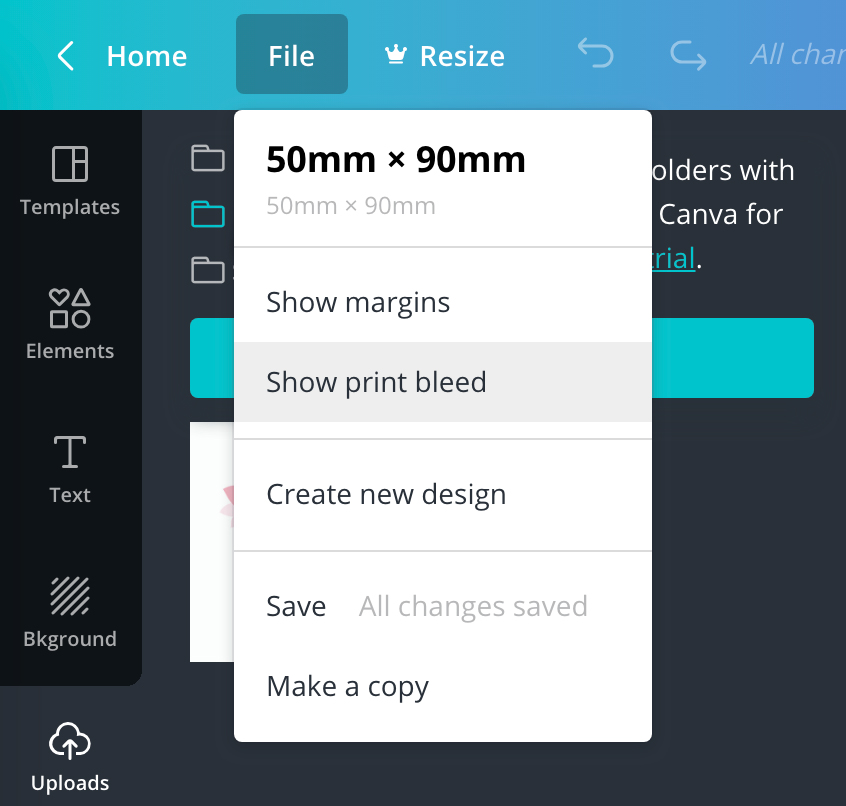
Create a design with custom dimensions, this business card template is 50 x 90mm. Go to the Uploads menu item on the left hand side, and drop in your two business card template files that have the word BLEED in the file name.
Then go to File from the top menu and select ‘Show print bleed’:
You can then drag your file onto the artboard making sure it covers the whole area, including the bleed area:
You can then add a page by clicking ‘+ Add a new page’ underneath the current page and drop in the second side of your business card template.
Once you have added your text, to save the business card, click on the download button from the top menu, change the file type to PDF print and select ‘Crop marks and bleed’:
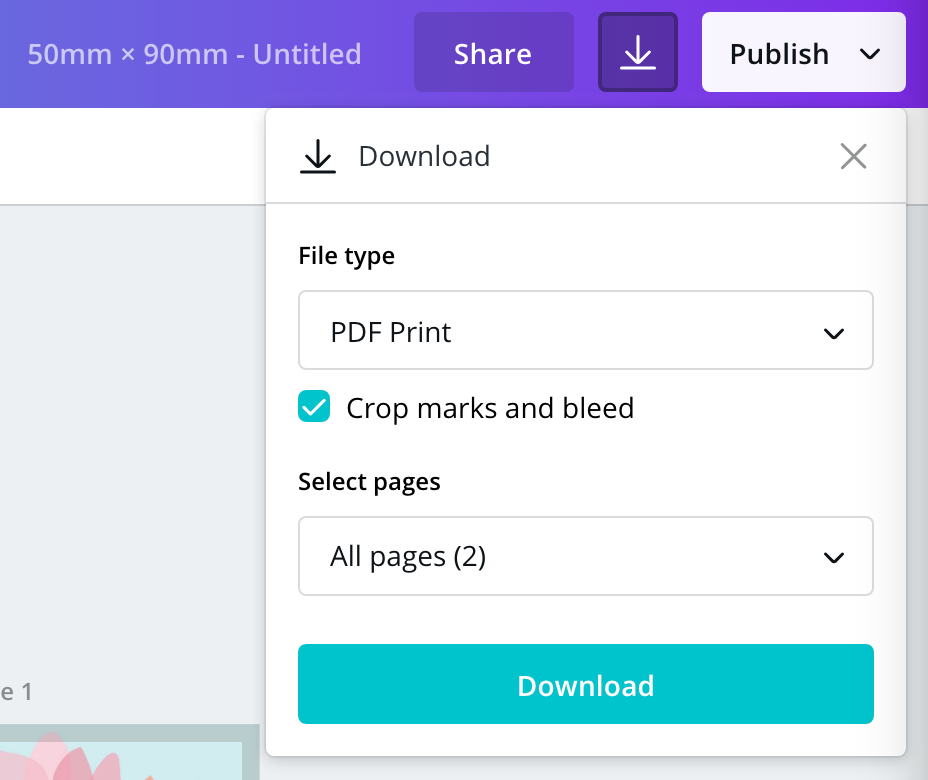
You will then be given a print ready file that you can give to your printer.